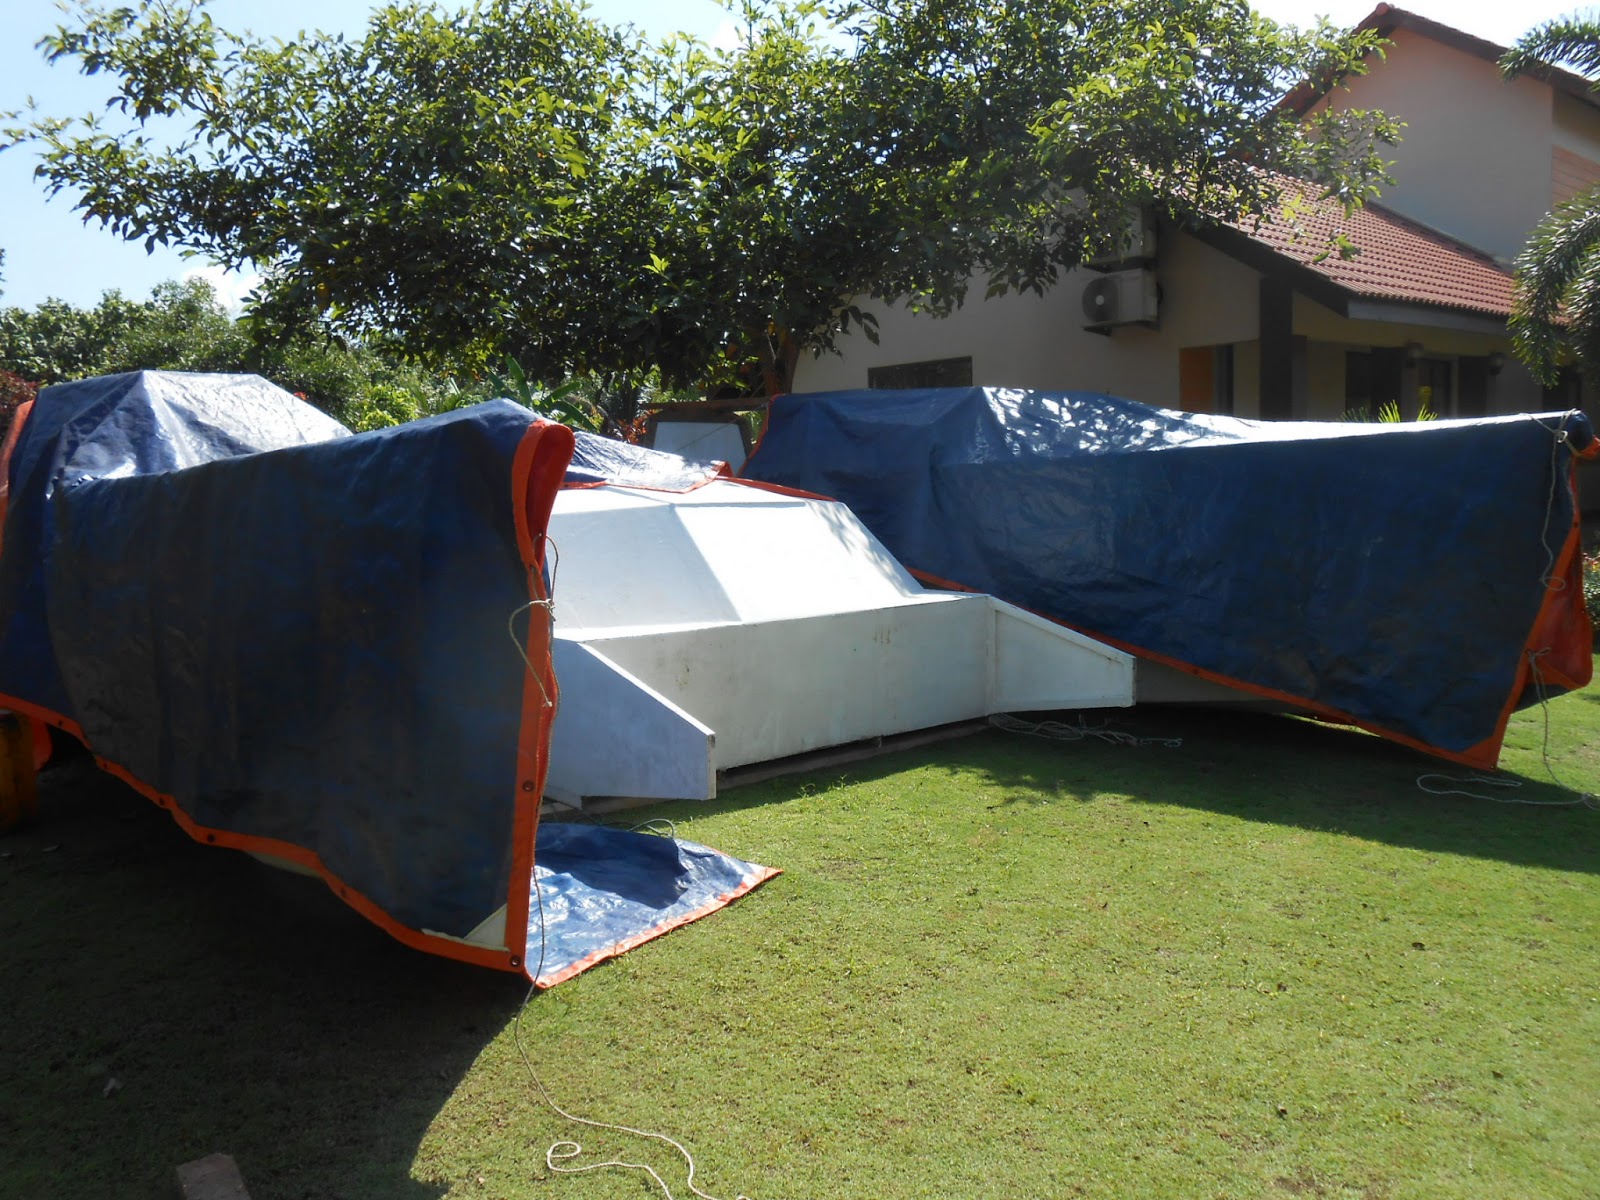
I had selected a spot in my garden that is relatively flat for the purpose of assembling my catamaran. The drop in gradient for 30 ft is about 2 to 3 inches. I guess I will be quite happy to apply chokes to the hulls to find the final level. The boats water line would have been a perfect ref point but the reference is inside the hulls on the bulkheads and by now its markings would have been faded to the point of being invisible. That is the problem of taking too long to build one's boat!
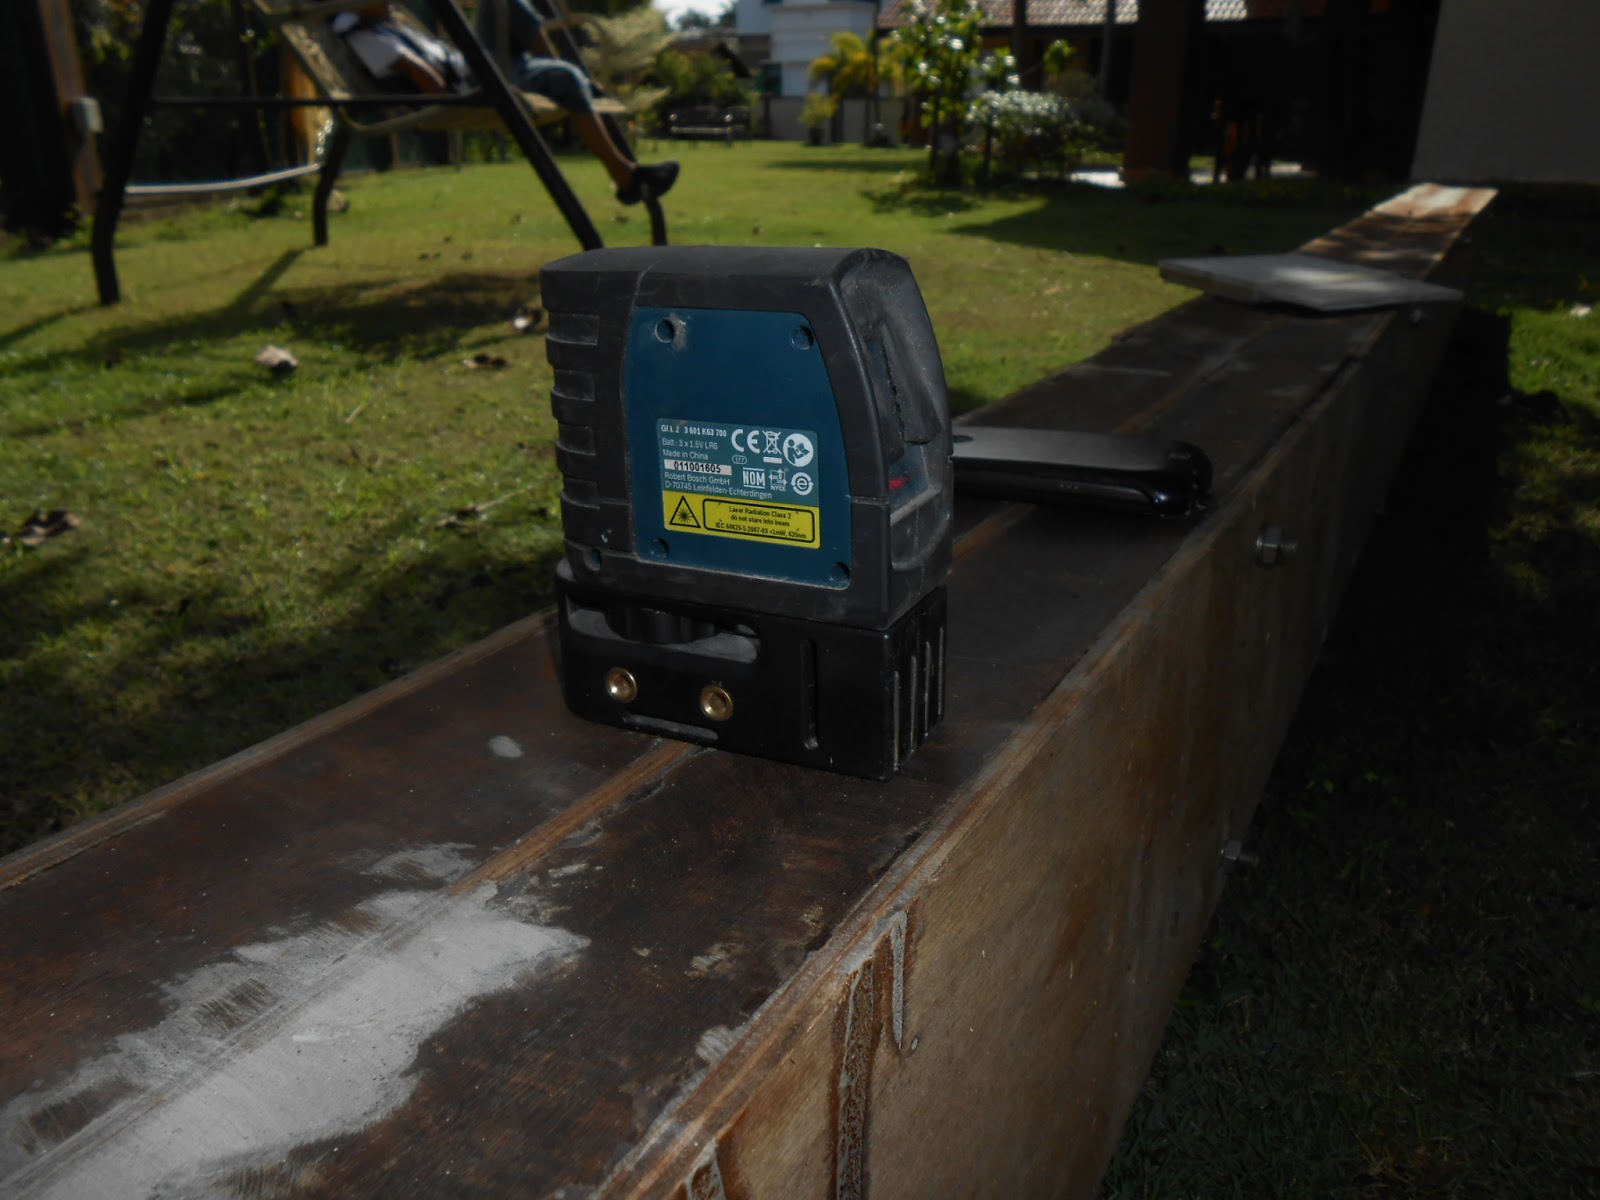
I have a friend Dr Nik who is building his own house ( a portion of it) with his bare hands and he has the Laser leveller. He came over and worked out some numbers.
His laser equipment shows that there is a gradient of about 3 to 4 inches between the two hulls.
His final solution is in order to ensure perfect level, some sort of a platform to house both the hulls must be constructed. Yes...that is the perfect solution but I am not prepared to spend so much time and money to get absolute perfection. I also remember that most Wharram designed cats only use rope to tie the hulls to the beam.
I resorted to the traditional way of using the pendulum bob and the leveller. Now one most important primitive equipment that I used was based on the principle that water finds its own level. So a small transparent hose was purchased and I measure the hulls from a datum to ensure that the hulls are on a same level and perfectly up right.
Several of these mason's levelling ruler were placed in various parts of the hulls
A car jack came in handy to raise and lower the hulls slightly so that some pieces of wood or planks could be inserted under the hulls
Finally my mosaic builder friend Ah Sang came over with his electronic leveller to confirm my work is acceptable. This time he came just before dark so that we can see the laser markings better. His theory is that he will mark several poles all around the boat with the same level. Later if I want to check the level all I need is a string pulled between the points of the same level
One other function of his laser equipment is he can also check whether both the transoms are in line or not. My son Alwin and my nephew was around so I had some extra labour to push the starboard hull 3 inches forward.


